
What are Wall Hung Toilets – How Do They Work?
What Are Wall Hung Toilets? How Do They Work? Modern bathrooms are no longer just functional spaces. They are designed to look clean, spacious and
Planning to revamp your bathroom? Not sure where to start? Try changing your bathroom mirror. Changing your mirror is a simple yet effective way to revamp your bathroom. Choosing the right mirror can also improve its overall functionality and aesthetics.
But how do you actually conduct a DIY mirror replacement? Here’s our step-by-step mirror replacement guide:
Before you begin, take precise measurements of your existing mirror. Measure both the width and height, ensuring accuracy to avoid inconsistencies when purchasing a new one. Write these measurements down and take them with you when selecting a mirror.
You should also pay attention to any extra space around your existing mirror. You might be able to get a bigger mirror that fits perfectly in that space.
For mirrors with 2 hooks, measure the distance between the hooks and the distance from the top of the mirror down to the hooks. You should also measure how far the hooks sit behind the mirror so it hangs flush against the wall.
Once you’ve got the measurements, you can now choose your new mirror. Consider the style and size of your bathroom when choosing a mirror. There are various options available, from cabinet mirrors to simple framed mirrors.
And remember to consider the practical aspects as well. If your bathroom tends to get steamy during showers, you might want to opt for a mirror with an anti-fog feature. Similarly, if you need extra storage, a mirrored cabinet could be a great choice.
To replace your bathroom mirror, you’ll need a few essential tools and materials including:
Make sure you have all these items on hand before starting the replacement process.
Clear the area around your existing mirror to create a safe and clutter-free workspace. Lay down a protective covering on the floor to catch any falling debris during the removal process.
Use painter’s tape to mark the perimeter of the mirror. This will help prevent any damage to the surrounding walls.
Removing adhesive from old mirrors can be tricky. That’s why it’s important to wear safety goggles and gloves before starting the removal process. Carefully insert a putty knife between the mirror and the wall to gently pry it away.
If your mirror is secured with clips, use a screwdriver to remove them before carefully lifting the mirror off the wall. If it is held up by glue, remember to loosen it up with some heat using a heat gun or blow dryer.
Once the old mirror is removed, thoroughly clean the wall surface to remove any adhesive residue or dirt. Use a mild cleaner and a clean cloth to ensure the area is free from debris and ready for the new mirror installation.
Apply heavy-duty adhesive to the back of the new mirror according to the manufacturer’s instructions. Carefully position the mirror against the wall, making sure it is level and centered within the space.
If necessary, use mirror clips or J-channel to secure the mirror in place. You can even use glue as an added layer of security.
Allow the adhesive to cure completely before removing any temporary supports or tape. Once the mirror is securely in place, step back and admire your handiwork.
Your bathroom will now have a fresh new look with a stylish and functional mirror as its centerpiece.
There are a bunch of things that could go wrong with mirror installation. You may have the wrong dimensions, inadequate tools or even a lack of proper safety gear. This all can lead to subpar results or injuries. Here are common mirror installation mistakes to avoid:
This will prevent it from falling and causing damage.
Clean the area thoroughly and remove any adhesive residue to create a smooth surface for the new mirror.
Your bathroom mirror plays an important role when it comes to personal hygiene and overall bathroom aesthetics. That’s why you should always get the right mirror for your bathroom. Replacing a mirror is also fairly simple once you know the right steps.
Just avoid common installation mistakes to ensure an injury-free, flawless process.
Enhance your bathroom’s functionality and style with our wide selection of mirrors.
What Are Wall Hung Toilets? How Do They Work? Modern bathrooms are no longer just functional spaces. They are designed to look clean, spacious and
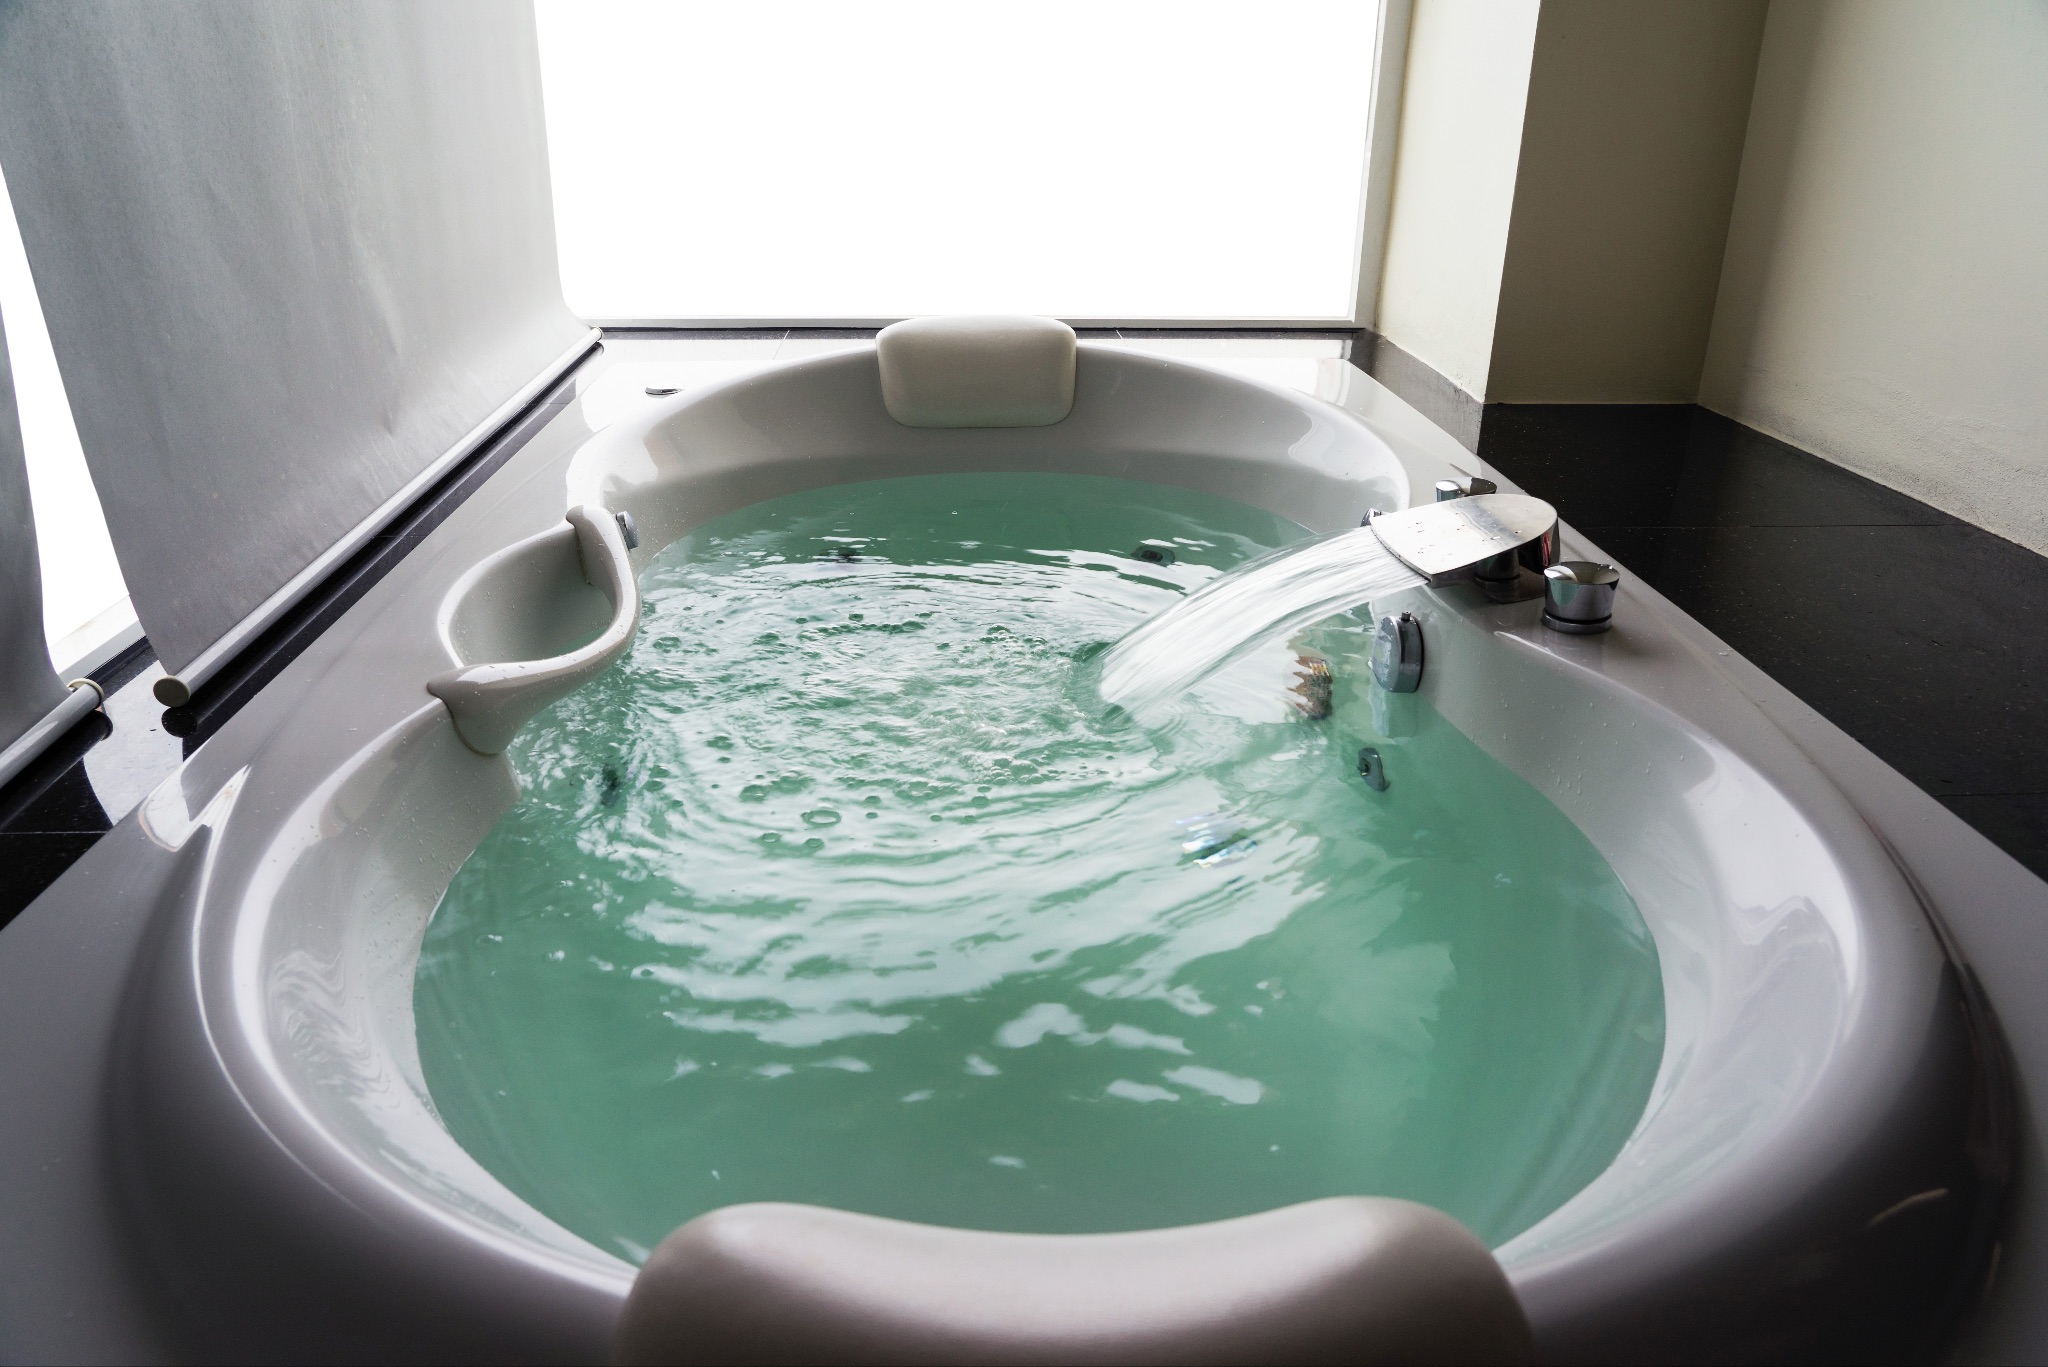
Are you conflicted between buying a jetted bathtub or a soaking bathtub? These bathtubs are popular bathroom fixtures that can improve your bathing experience. They

We spend a lot of time in the bathroom and a large portion of that is on our toilets. In fact, it is estimated that we